
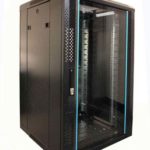
 FREE STANDING CABINETS
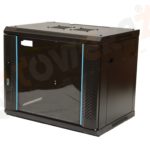 WALL MOUNTED CABINETS
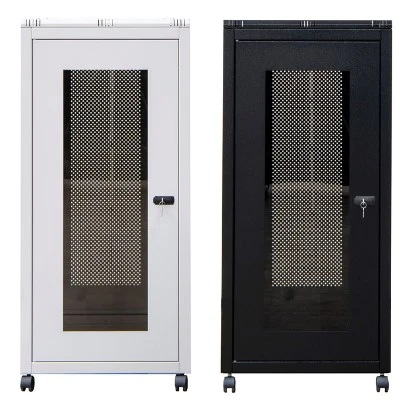
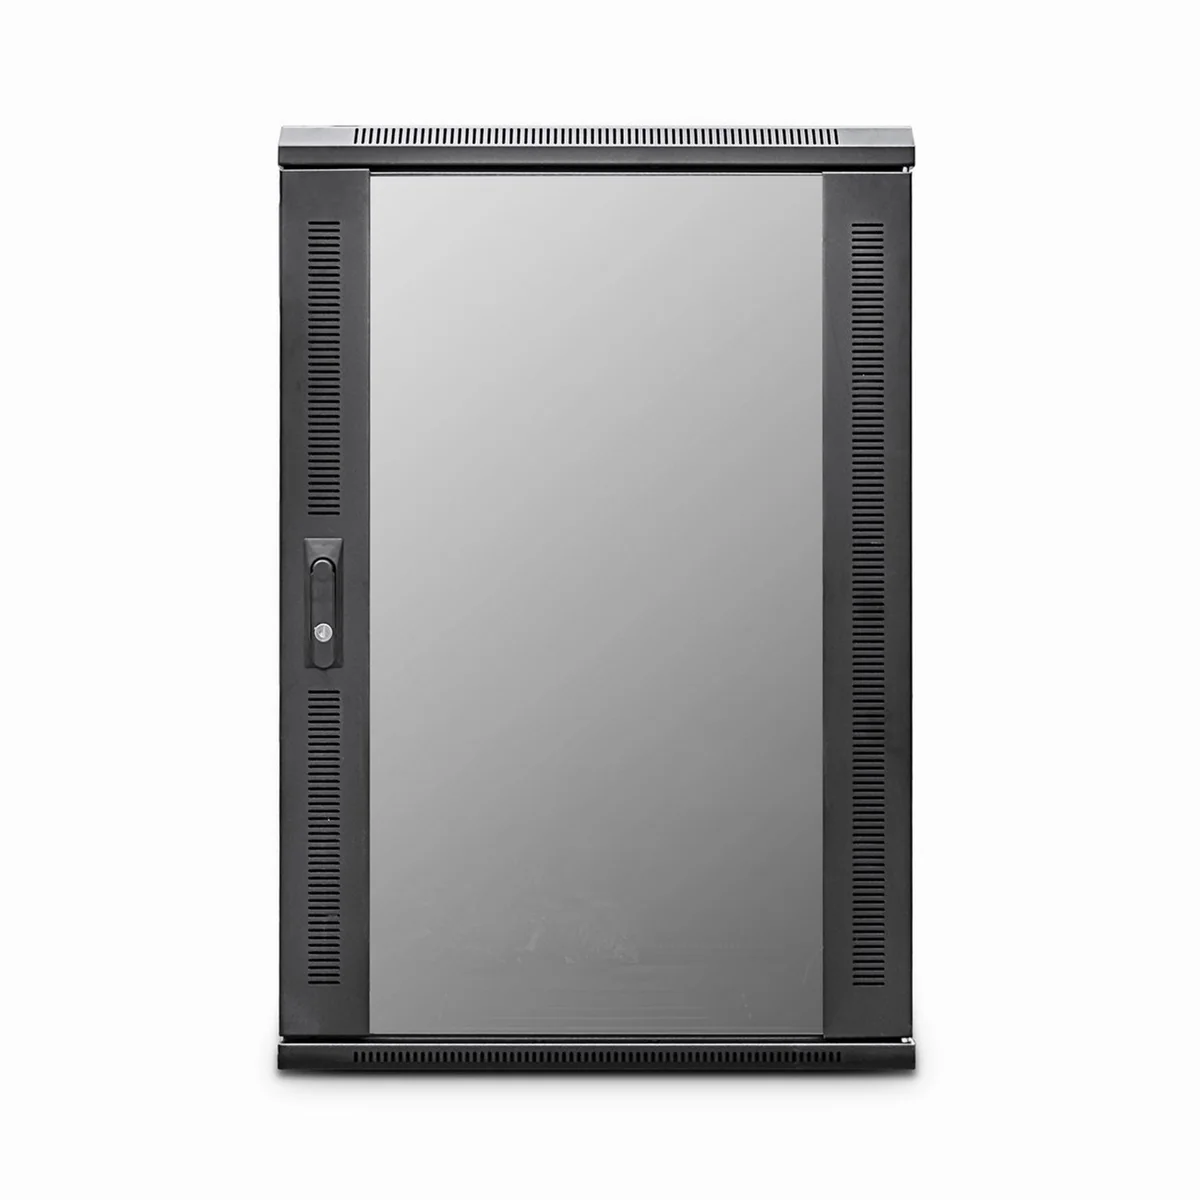
 Blanking panel
 fan units
 PATCH PANEL
 Power Distribution Unit
 SHELVES
 RACK DRAWER
 TOWEREZ RAILS
 CAGE & NUTS

How to Install a Wall-Mounted Network Cabinet in the UK: Fixings, Clearance and Best Practice

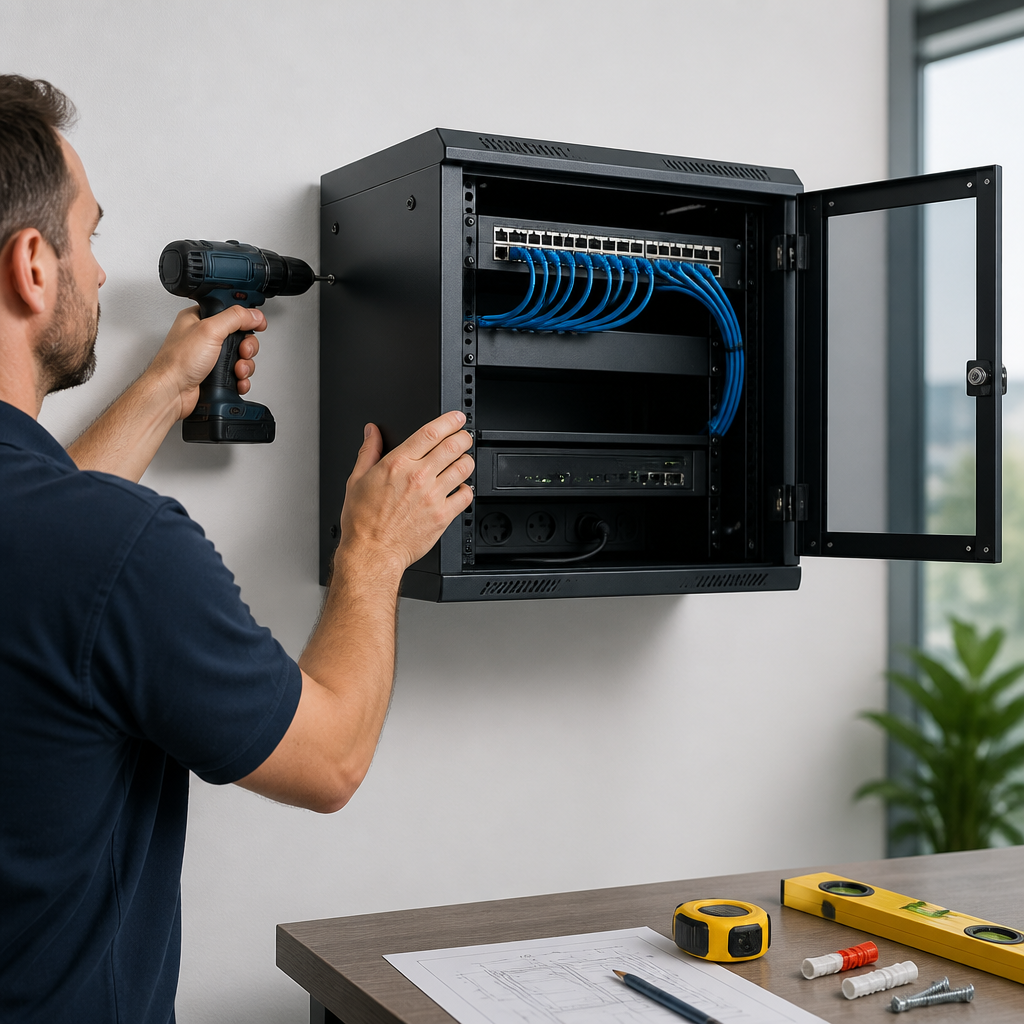
To install a wall-mounted network cabinet in the UK, choose a suitable location, verify the wall and fixings, mark and drill accurately, secure the cabinet with its rated mounting points, then install equipment while maintaining ventilation, cable clearance and electrical safety. The cabinet should be mounted to a structurally sound surface, positioned where patch leads can be routed without sharp bends, and left accessible for maintenance.
This guide explains how to install a wall mounted network cabinet UK installers commonly use in homes, offices, workshops and small commercial premises. It covers cabinet selection, wall assessment, fixings, working clearances, cable entry, earthing considerations and final checks.
How to install a wall mounted network cabinet UK: plan before drilling
Good planning prevents the most common installation problems: an overloaded wall, insufficient door clearance, inaccessible power sockets, crushed cables and equipment that cannot be serviced later. Before lifting the cabinet, record the following:
- The cabinet’s external height, width and depth.
- The total weight of the empty cabinet and the equipment to be installed.
- The location of studs, masonry, pipes and electrical cables in the wall.
- The route for incoming data cables and patch leads.
- The position of nearby power sockets and any dedicated supplies.
- The space required to open the front and rear doors or removable panels.
- How the cabinet will be accessed for patching, testing and future upgrades.
Do not assume that a cabinet advertised as “wall mountable” can be fixed to any wall. The manufacturer’s instructions should state the permitted mounting method, maximum load and recommended fasteners. Treat those instructions as the starting point, particularly where the cabinet will contain switches, patch panels, UPS equipment or heavy power distribution hardware.
Choose the correct cabinet and location
Cabinet size and usable rack space
Most data cabinets use the standard 19-inch equipment format. Select enough rack units, usually described as U, for the current equipment plus reasonable spare capacity. Allow room for a patch panel, cable management, network switch, shelves or power distribution, rather than filling every position on day one.
Cabinet depth is equally important. A shallow cabinet may suit a patch panel and compact switch but may not accommodate deeper switches, fibre equipment, shelves or a UPS. Check the equipment depth, rear connectors and the bend radius specified for the cables. A device that technically fits may still be unsuitable if its power lead or network cables press against the rear door.
Environmental conditions
Use a dry, clean and reasonably cool location. Avoid rooms with condensation, significant dust, water splash or large temperature changes. Do not mount a cabinet where it can obstruct a fire exit, access panel, stairway or required working area.
Keep the cabinet away from radiators and other heat sources. Network switches and power equipment produce heat, so allow airflow through the cabinet’s vents. Never cover ventilation openings or place the cabinet directly against a surface when the manufacturer requires a rear gap.
Door and maintenance clearance
Measure the full operating space, not just the cabinet footprint. The front door must open far enough to remove equipment and connect patch leads. Rear access may be necessary for power and data connections, especially if the cabinet has a hinged frame or rear door.
There is no universal clearance that suits every cabinet. Follow the manufacturer’s instructions and local site requirements. As a practical principle, leave enough space to work safely with both hands, remove the heaviest installed item and inspect cable connections without kneeling awkwardly or forcing the door.
Check the wall and select suitable fixings
The wall construction determines the fixing method. Common UK wall types include solid brick or concrete, timber stud partitions, metal stud partitions and plasterboard-lined walls. A cabinet containing active equipment creates a sustained load, and the load may increase when cables are pulled or equipment is serviced.
| Wall type | Typical approach | Important caution |
|---|---|---|
| Solid brick or concrete | Use suitable masonry anchors, plugs or rated fixings matched to the substrate. | Do not rely on a fixing size alone; check the material condition and load rating. |
| Timber stud | Fix directly into sound studs using appropriate structural screws or bolts. | Locate the centre of the stud and verify that the timber is substantial and undamaged. |
| Plasterboard over studs | Fix through the board into studs wherever possible. | Plasterboard-only anchors may be unsuitable for a loaded cabinet. |
| Metal stud partition | Use a suitable reinforced fixing arrangement designed for the partition. | Obtain advice if the cabinet load exceeds the partition system’s rating. |
Use every designated mounting point where practical. If the cabinet has a top and bottom mounting rail, distribute the load between them rather than relying only on the upper holes. Washers can help spread the load where specified, but they do not compensate for an unsuitable substrate or undersized anchor.
Before drilling, use an appropriate detector and inspect both sides of the wall if accessible. UK buildings may contain concealed electrical cables, water pipes and heating pipes. Isolate electrical circuits where appropriate and follow safe drilling procedures. If the wall condition is uncertain or the cabinet is heavy, ask a competent installer or structural professional to assess it.
Tools and materials for a wall-mounted network cabinet
The exact list depends on the wall and cabinet, but a typical installation may require:
- Tape measure, pencil, spirit level and a straight edge.
- Stud, cable and pipe detector suitable for the wall.
- Drill and bits matched to brick, concrete, timber or the approved fixing.
- Manufacturer-approved anchors, screws, bolts and washers.
- Socket or screwdriver set and a torque tool if specified.
- Vacuum or brush for removing drilling dust.
- Grommets, brush panels or cable glands for cable entry.
- Rack screws, cage nuts, patch leads and cable-management accessories.
- Personal protective equipment, including eye protection during drilling.
Do not substitute random wall plugs because they are available. The fixing must be compatible with the wall material, hole size, edge distance and expected load. Keep the cabinet installation instructions and fixing data available for future maintenance.
Step-by-step wall-mounted network cabinet installation
1. Confirm the mounting height and orientation
Position the cabinet so that the lowest equipment is accessible and the top is not difficult to reach. A cabinet mounted too high can make patching and inspection uncomfortable; one mounted too low may be vulnerable to impact or obstruct furniture.
Confirm that the cabinet is upright, its door swing is clear and its cable routes are practical. Mark the cabinet’s outline lightly, then identify the exact mounting holes from the supplied template or rear mounting plate. Do not use the cabinet itself as an inaccurate drilling template if the holes are difficult to access.
2. Mark and verify the holes
Use a spirit level to mark a level horizontal reference. Transfer the mounting-hole centres carefully and measure between holes rather than relying on visual alignment. Check each mark against the detected position of studs or the intended masonry area.
Before drilling, recheck the cabinet height, door clearance, cable entry and power access. This is the easiest stage at which to correct an error.
3. Drill and prepare the substrate
Use the drill mode and bit recommended for the wall material and fixing. Drill to the required depth without enlarging the hole unnecessarily. Remove dust from masonry holes, because loose dust can reduce the effectiveness of some anchors.
For a stud wall, avoid damaging cables or pipes and make sure the screw penetrates the structural timber adequately. For masonry, do not place a fixing too close to a weak edge, mortar joint or damaged brick unless the fixing system specifically permits it.
4. Install the fixings and hang the cabinet
Fit the anchors or prepare the structural screws as directed. A second person should support the cabinet while it is lifted into place, particularly for larger enclosures. Start all fasteners before tightening them fully, then check the cabinet with a spirit level.
Tighten the fixings progressively and evenly. Do not overtighten, as this can damage plasterboard, strip threads or crush a substrate. If the cabinet rocks, stop and correct the fixing arrangement; do not use loose packing as a substitute for a properly supported mount.
5. Check stability before adding equipment
With the cabinet empty, inspect every mounting point and gently test for movement. The cabinet should sit firmly against its intended support surface. Confirm that doors, side panels and cable-entry covers operate correctly.
Install heavier items low in the cabinet where appropriate, while following equipment and cabinet instructions. Avoid placing a heavy UPS or power unit on an unsupported shelf. Check the combined load against the cabinet’s rating rather than considering each device separately.
Route cables and maintain serviceability
Plan separate routes for incoming structured cabling, patch leads and power cords. Keep data and mains cabling organised and avoid unnecessary parallel runs where the installation design calls for separation. Follow the cable manufacturer’s guidance and applicable UK electrical requirements for segregation.
Use brush strips, grommets or suitable cable glands at entry points so that cables are not cut by sharp metalwork. Maintain the cable manufacturer’s minimum bend radius, especially for fibre and higher-category copper cabling. Do not pull cables tight across the cabinet hinge or trap them behind a door.
Leave service loops where appropriate, label both ends of permanent cables and keep patch leads short enough to remain tidy without being stretched. Velcro straps are generally preferable to overtightened cable ties because they are easier to adjust and less likely to deform cables.
Power, bonding and electrical safety
A network cabinet is not automatically an electrical installation, but it may contain mains-powered equipment and a power distribution unit. Use correctly rated equipment and avoid overloading sockets, extension leads or power strips. Keep mains connections accessible and do not allow cables to hang where they can be snagged.
Metal cabinets may require bonding or earthing depending on the equipment, power arrangement and applicable installation requirements. Follow the cabinet and PDU instructions and obtain advice from a qualified electrician where protective bonding, new circuits or fixed wiring are involved. Do not improvise an earth connection or connect to a random pipe.
Where electrical work is needed, comply with the relevant UK regulations and use a competent person. Data-cabling work should also follow the relevant manufacturer instructions, building requirements and good practice for the cable category being installed.
Final inspection and commissioning checklist
Before closing the cabinet, complete a structured inspection:
- Confirm every required mounting point is secure and the cabinet is level.
- Verify that the wall and fixing arrangement are suitable for the installed load.
- Check ventilation openings and working clearances.
- Confirm that doors and removable panels open without pulling cables.
- Check patch-panel labels against the cable schedule.
- Inspect cable bends, entry points and strain relief.
- Confirm that power equipment is correctly rated and safely positioned.
- Test network links, PoE devices and fibre connections using suitable equipment.
- Record cabinet contents, port assignments and any spare capacity.
Photograph the completed installation before covering cable routes or closing adjacent panels. Keep a simple record of the cabinet model, fixing type, equipment layout and cable labels. This can save considerable time during fault finding or future expansion.
Common mistakes to avoid
- Mounting only into plasterboard: use the structural framing or a designed support system for the expected load.
- Ignoring rear clearance: connectors and power leads need room even when the cabinet body fits.
- Overfilling the cabinet: leave rack space and airflow for future equipment.
- Using excessive force on cables: sharp bends and tight ties can affect performance.
- Drilling without checking services: concealed pipes and cables can create serious hazards.
- Installing power equipment without advice: fixed wiring and bonding should be handled by a suitably qualified person.
- Failing to label cables: an unlabelled cabinet is harder and slower to maintain.
Key takeaways
- Select cabinet depth, rack capacity and ventilation based on the equipment, not just the wall space.
- Match the fixings to the actual wall construction and expected total load.
- Leave enough front, rear and side access for installation and maintenance.
- Protect cables at entry points, respect bend-radius limits and keep routes organised.
- Use a qualified electrician for new circuits, fixed wiring, bonding or other electrical work.
- Test, label and document the installation before handing it over.
FAQs about installing a wall-mounted network cabinet in the UK
Can I mount a network cabinet directly onto plasterboard?
Only if the cabinet and fixing system are specifically rated for the expected load and the installation method is suitable. For a loaded cabinet, fixing into structural studs or a properly designed support is usually the safer approach. Confirm the wall construction and manufacturer requirements before drilling.
How much clearance does a wall-mounted network cabinet need?
The required clearance depends on the cabinet design, door swing, equipment depth, ventilation and cable-entry arrangement. Follow the manufacturer’s instructions and leave enough working room to open doors, remove equipment and service connections without bending or crushing cables.
Should a metal network cabinet be earthed?
It may require bonding or earthing depending on the cabinet, installed equipment and electrical arrangement. Follow the manufacturer’s instructions and ask a qualified electrician where protective bonding or fixed mains wiring is involved. Never improvise a connection to an unsuitable metal service.
How high should a wall-mounted network cabinet be installed?
Choose a height that keeps the cabinet secure, accessible and clear of obstacles. The top should be reachable for inspection, while the bottom should not create a trip, impact or furniture problem. Also consider door swing, cable routes and the height of nearby power sockets.
Can I install a network switch in any wall cabinet?
No. Check the switch dimensions, rack compatibility, cabinet depth, rear connector space, heat output and available power. A device may fit the rack width but still be unsuitable if the cabinet is too shallow or lacks adequate airflow.
{“@context”:”https://schema.org”,”@type”:”FAQPage”,”mainEntity”:[{“@type”:”Question”,”name”:”Can I mount a network cabinet directly onto plasterboard?”,”acceptedAnswer”:{“@type”:”Answer”,”text”:”Only if the cabinet and fixing system are specifically rated for the expected load and the installation method is suitable. For a loaded cabinet, fixing into structural studs or a properly designed support is usually the safer approach. Confirm the wall construction and manufacturer requirements before drilling.”}},{“@type”:”Question”,”name”:”How much clearance does a wall-mounted network cabinet need?”,”acceptedAnswer”:{“@type”:”Answer”,”text”:”The required clearance depends on the cabinet design, door swing, equipment depth, ventilation and cable-entry arrangement. Follow the manufacturer’s instructions and leave enough working room to open doors, remove equipment and service connections without bending or crushing cables.”}},{“@type”:”Question”,”name”:”Should a metal network cabinet be earthed?”,”acceptedAnswer”:{“@type”:”Answer”,”text”:”It may require bonding or earthing depending on the cabinet, installed equipment and electrical arrangement. Follow the manufacturer’s instructions and ask a qualified electrician where protective bonding or fixed mains wiring is involved. Never improvise a connection to an unsuitable metal service.”}},{“@type”:”Question”,”name”:”How high should a wall-mounted network cabinet be installed?”,”acceptedAnswer”:{“@type”:”Answer”,”text”:”Choose a height that keeps the cabinet secure, accessible and clear of obstacles. The top should be reachable for inspection, while the bottom should not create a trip, impact or furniture problem. Also consider door swing, cable routes and the height of nearby power sockets.”}},{“@type”:”Question”,”name”:”Can I install a network switch in any wall cabinet?”,”acceptedAnswer”:{“@type”:”Answer”,”text”:”No. Check the switch dimensions, rack compatibility, cabinet depth, rear connector space, heat output and available power. A device may fit the rack width but still be unsuitable if the cabinet is too shallow or lacks adequate airflow.”}}]}