
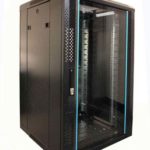
 FREE STANDING CABINETS
 WALL MOUNTED CABINETS
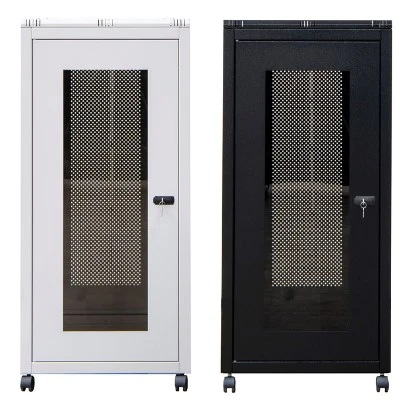
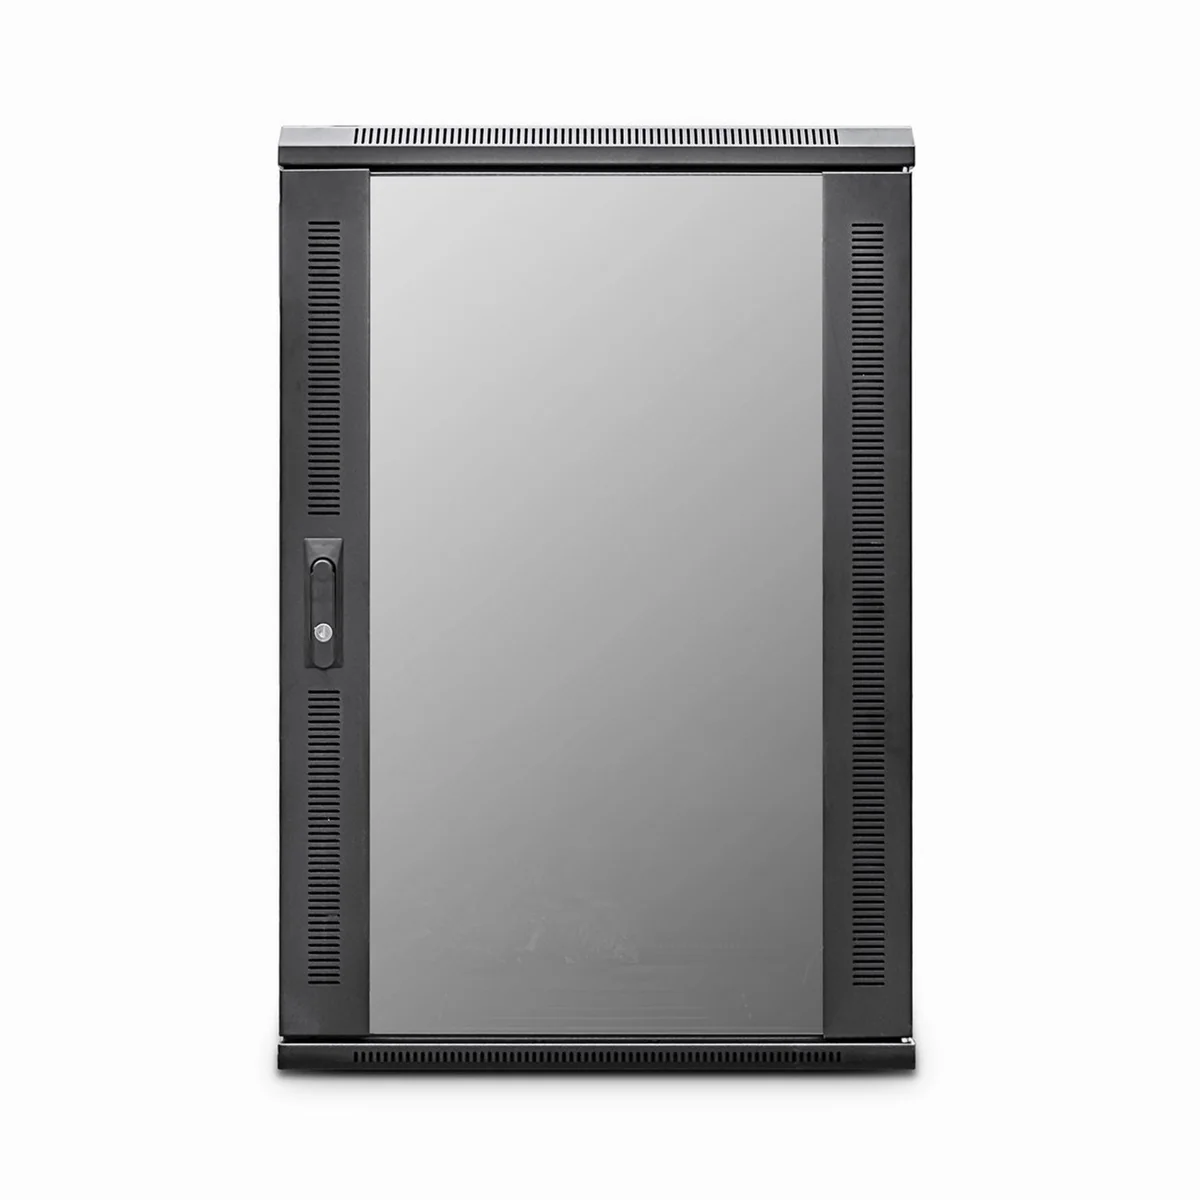
 Blanking panel
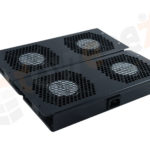 fan units
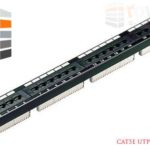 PATCH PANEL
 Power Distribution Unit
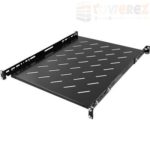 SHELVES
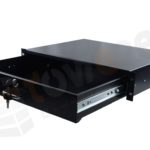 RACK DRAWER
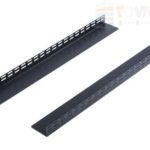 TOWEREZ RAILS
 CAGE & NUTS

How to Organise Cables in a Network Cabinet: UK Best Practice for Patch Panels and Switches


Direct answer: Organise a network cabinet by planning the rack layout first, keeping patching separate from power, using horizontal and vertical cable managers, routing cables with gentle bends, and labelling both ends. For reliable network cabinet cable management UK installations, document every port and leave enough room for airflow, testing and future changes.
A tidy cabinet is not simply easier to look at. Correct cable management improves fault-finding, protects connectors, supports cooling and reduces the risk of accidental disconnection. Whether you are fitting a small wall-mounted cabinet or a full-height server rack, the same principles apply: plan before connecting, use the right accessories and make every cable traceable.
Why network cabinet cable management matters
Patch panels, switches, routers, power distribution units and servers can quickly create a dense mass of copper and fibre. If cables are installed without a plan, common problems include blocked airflow, excessive strain on ports, poor bend radii, inaccessible equipment and undocumented connections.
Good management also makes future work safer. A technician should be able to identify a cable, follow its route and confirm its destination without disturbing unrelated connections. This is particularly important in offices, schools, retail premises and managed buildings where a short outage can affect many users.
- Faster troubleshooting: labels and port schedules reduce the time needed to trace faults.
- Better cooling: orderly routes help preserve front-to-back airflow through active equipment.
- Lower mechanical stress: properly supported cables are less likely to pull on sockets or patch-panel modules.
- Safer maintenance: separated power and data routes reduce accidental contact and unwanted interference.
- Easier expansion: spare capacity and documented routes make later additions more predictable.
Plan the cabinet layout before pulling cables
Start with a simple rack elevation showing the position of each device. Record the cabinet height, usable rack units, equipment depth, power requirements and preferred cable entry points. Do not fill every available unit: maintenance space, ventilation and future growth all need to be considered.
A typical small data cabinet may include a patch panel near the top, horizontal cable management below or above it, one or more switches, a power distribution unit and a shelf or equipment such as a firewall. The exact order depends on the equipment and the manufacturer’s instructions, but connections should be short, visible and easy to reach.
Allow for access and service loops
Measure the required route rather than choosing the shortest possible cable. A small amount of spare length allows equipment to be moved forward for inspection without unplugging every connection. Avoid large coils inside the cabinet, however, because they consume space and can obstruct airflow.
Use service loops only where they have a purpose. For example, a controlled loop above a patch panel may accommodate re-termination or equipment movement. Secure the loop with reusable hook-and-loop straps rather than tight plastic cable ties.
Consider airflow and equipment depth
Most rack equipment is designed around a defined airflow direction. Keep cable bundles away from fans, vents and removable filters. Check that rear cable routes do not prevent doors from closing or block access to power switches. Deep switches, patch leads and power connectors may require a cabinet with greater depth than a basic wall box provides.
Network cabinet cable management UK best practice
Effective network cabinet cable management UK follows a repeatable installation method. The following steps work for copper Ethernet systems and can be adapted for fibre, subject to the relevant cable and manufacturer requirements.
1. Separate power and data
Keep mains power cables physically separate from network cabling wherever practical. Use different sides, pathways or management channels for power and data. If they must cross, a short crossing at approximately 90 degrees is generally preferable to running parallel for a long distance.
Do not bundle power and data together with the same strap. Use suitable rack power accessories, maintain clear access to isolation points and follow the equipment manufacturer’s guidance. Electrical work should be completed by a competent person in accordance with applicable UK requirements.
2. Install cable managers before patching
Fit horizontal managers between patch panels and switches, and use vertical managers at the sides of larger cabinets. Finger duct, brush panels and lacing bars can help control routes without compressing the cables. Blank panels can also improve the cabinet’s appearance and help prevent uncontrolled airflow gaps.
Choose managers with enough capacity for the current installation and planned additions. An undersized manager creates pressure and crossed routes; an oversized, poorly positioned manager can make patching unnecessarily long.
3. Use the correct patch lead length
Patch leads should reach the destination through the intended manager without being stretched or left in a large loop. Short leads are not always best: a lead that is too short can pull on the connector, while an excessively long lead creates congestion.
Where practical, use consistent patch-lead lengths within each cabinet section. Colour coding can assist with identification, but it should supplement rather than replace written labels and port documentation. For example, colours might distinguish uplinks, access points, voice services or security equipment.
4. Protect bend radius and connector strain
Never sharply fold copper or fibre cables. Follow the cable manufacturer’s minimum bend radius, especially when routing around cabinet corners or through brush panels. Fibre generally needs particular care because excessive bending or pulling can increase attenuation or damage the cable.
Support bundles with hook-and-loop straps at suitable intervals. Tight ties can deform data cable jackets and make future changes difficult. Do not use a bundle as a handle, and avoid hanging its full weight from a patch-panel port or switch socket.
5. Route cables consistently
Choose a standard route and use it throughout the cabinet. For example, patch leads can leave the panel, pass through the horizontal manager and enter the switch from the front, while permanent links enter the rear through a designated top or bottom pathway.
Keep fibre in a clearly identified route and avoid placing heavy copper bundles on top of it. Close unused brush strips and seal unnecessary openings where appropriate. Consistency is more valuable than a complicated routing pattern that only one installer understands.
Patch panel and switch organisation
The patch panel is the cabinet’s connection point to the building cabling. Each port should correspond to a known outlet, room, device or service. The switch port schedule should then show where each patch-panel port is connected. This creates a simple chain that can be followed from the user outlet to the active equipment.
| Item | Recommended record |
|---|---|
| Patch-panel port | Panel identifier and port number |
| Outlet or endpoint | Room, outlet number or device name |
| Switch port | Switch name, stack member if relevant, and port number |
| Service | Data, voice, wireless access point, CCTV or other use |
| Test result | Certification or continuity test reference and date |
Align patch-panel and switch positions where this produces a clear route, but do not force a layout that compromises ventilation or access. For high-density installations, vertical managers and angled patch panels can reduce congestion at the switch face.
Use a consistent labelling system
Labels should be readable, durable and applied to both ends of every permanent link and patch lead where appropriate. A useful label can include the cabinet ID, panel or switch reference, port number and destination. Avoid relying on handwritten notes that may fade or detach.
Agree the naming convention before installation. For example, a label might identify cabinet C01, patch panel PP02 and port 18, with the corresponding outlet shown in the schedule. Keep the electronic record in a location that authorised staff can access, and update it whenever a connection changes.
Testing and documentation after installation
Cable management is incomplete until the installation has been checked. Test permanent copper links using suitable certification or verification equipment, according to the project specification and cable category. Fibre links should be inspected and tested using appropriate methods, including connector inspection where applicable.
Record test results, cable routes, port assignments and any deviations from the original plan. Take clear photographs before closing cabinet doors or adding equipment. A cabinet elevation and a current port schedule are often as valuable as the test report during future maintenance.
Practical rule: if a technician cannot identify a cable and its destination from the label, route and documentation, the cabinet is not finished—even if every device is currently working.
Common cable-management mistakes to avoid
- Overfilling the cabinet: leaving no room for expansion or safe maintenance.
- Using tight cable ties: compressing cables and making changes destructive.
- Ignoring rear access: creating routes that prevent equipment removal or door closure.
- Mixing power and data: making maintenance harder and potentially increasing interference.
- Using random cable lengths: producing unnecessary loops and inconsistent routes.
- Relying on colour alone: colours can fade, change or be misunderstood without labels.
- Leaving unused cables connected: creating confusion and consuming switch ports.
- Failing to update records: making the cabinet appear organised while the documentation is inaccurate.
UK considerations for a professional installation
For a commercial or structured cabling project, align the design and installation with the applicable project specification and recognised standards, such as the relevant parts of BS EN 50174 and the ISO/IEC 11801 structured cabling series. The exact requirements depend on the building, cabling type and intended service.
Also consider fire stopping where cables pass through walls or floors, earthing and bonding requirements for metallic systems, cabinet loading, safe access and the building’s electrical arrangements. Do not treat a network cabinet as a substitute for an electrical distribution board. When in doubt, use a qualified cabling or electrical professional and follow manufacturer instructions.
A simple maintenance routine
Inspect the cabinet periodically and after any equipment change. Check that labels remain attached, straps are secure but not tight, vents are unobstructed and power leads are still separated from data routes. Confirm that the patch schedule matches the physical connections.
- Compare the cabinet with the latest rack elevation and port list.
- Look for unsupported, sharply bent or trapped cables.
- Check patch leads and connectors for damage or strain.
- Remove abandoned leads only after confirming that they are unused.
- Update documentation and test any newly changed link.
Key takeaways
- Plan the rack layout and cable routes before installation.
- Separate power from data and preserve equipment airflow.
- Use horizontal and vertical management with reusable hook-and-loop straps.
- Choose patch leads that are long enough to route cleanly but not excessively long.
- Protect bend radius, connectors and fibre from strain.
- Label both ends, maintain a port schedule and test every link.
- Leave space for future changes and keep the documentation current.
Frequently asked questions
What is the best way to organise cables in a network cabinet?
Plan the equipment layout, install cable managers, separate power and data, route cables consistently and label every connection. Use suitable cable lengths and reusable straps so the cabinet remains accessible for maintenance.
Should network cables and power cables be separated in a cabinet?
Yes. Keep power and data in separate pathways or on separate sides wherever practical. If routes cross, keep the crossing short and avoid long parallel runs. Follow applicable electrical and installation requirements.
How much spare cable should be left in a network cabinet?
Leave enough length to access or reposition equipment without stressing connectors, but avoid large coils. The correct amount depends on cabinet dimensions, equipment depth, entry route and the manufacturer’s bend-radius guidance.
Are colour-coded patch leads enough for network cabinet labelling?
No. Colour can make groups easier to recognise, but it should be supported by durable labels and an accurate port schedule. Labels should identify the relevant panel, port and destination.
How often should network cabinet cable management be checked?
Inspect it during planned maintenance and after every equipment or patching change. At minimum, check routes, labels, airflow, cable support and documentation whenever the cabinet is serviced.
{“@context”:”https://schema.org”,”@type”:”FAQPage”,”mainEntity”:[{“@type”:”Question”,”name”:”What is the best way to organise cables in a network cabinet?”,”acceptedAnswer”:{“@type”:”Answer”,”text”:”Plan the equipment layout, install cable managers, separate power and data, route cables consistently and label every connection. Use suitable cable lengths and reusable straps so the cabinet remains accessible for maintenance.”}},{“@type”:”Question”,”name”:”Should network cables and power cables be separated in a cabinet?”,”acceptedAnswer”:{“@type”:”Answer”,”text”:”Yes. Keep power and data in separate pathways or on separate sides wherever practical. If routes cross, keep the crossing short and avoid long parallel runs. Follow applicable electrical and installation requirements.”}},{“@type”:”Question”,”name”:”How much spare cable should be left in a network cabinet?”,”acceptedAnswer”:{“@type”:”Answer”,”text”:”Leave enough length to access or reposition equipment without stressing connectors, but avoid large coils. The correct amount depends on cabinet dimensions, equipment depth, entry route and the manufacturer’s bend-radius guidance.”}},{“@type”:”Question”,”name”:”Are colour-coded patch leads enough for network cabinet labelling?”,”acceptedAnswer”:{“@type”:”Answer”,”text”:”No. Colour can make groups easier to recognise, but it should be supported by durable labels and an accurate port schedule. Labels should identify the relevant panel, port and destination.”}},{“@type”:”Question”,”name”:”How often should network cabinet cable management be checked?”,”acceptedAnswer”:{“@type”:”Answer”,”text”:”Inspect it during planned maintenance and after every equipment or patching change. At minimum, check routes, labels, airflow, cable support and documentation whenever the cabinet is serviced.”}}]}